|
|
Scale: 10 ft. Click HERE for a PDF version of this adventure! |
Suitable for 1st or 2nd level.
E - East Wing
E1 - Cellar
Stairs to the south terminate in a storage room; with pickled meats that might be pork, but might be human, against the east wall. Against the west wall is a lone barrel of salt.
E2 - Abandoned!
A goblin - hungry and bruised - is locked in this room. He was the guide for the Orcs in E3 to find the complex, but when his usefulness was exhausted, they stripped him of his provisions and threw him into the locked space. He knows their particulars - but not where they are.
E3 - Orc Lounge
Five Orcs (B40) are resting here, having stolen 7,000 silver pieces from room E6. They were unable to force the door in the south-west and are deliberating where to go next. Of the room, there is a blue mosaic on the floor - but it has been defaced with red paint.
E4 - Candlelight
In the center of the space is a raised platform which conforms to the shape of the room. A brass fixture is attached which would hold a single candle and surround it with a wide bowl, catching any wax drippings.
If a candle is placed in the bowl and lit, it will cast shadows around it - but the shadows will break suspiciously on the secret door to the north. The secret door is a simple faux wall which will slide upwards, if lifted. Typically, a combined Strength (that is, the sum of the scores) of 16 between the lifters is sufficient.
E5 - Connecting Chamber
Empty torch holders line the west and south walls. There is a grubby rug - but it has been lifted and thrown into one corner.
E6 - Homage Chamber
In the south-west corner, disturbed space where an altar might have been. There had been treasure in the form of silver, but it has been removed by Orcs in E3. In the north-west corner, a raised wooden platform on which a throne with a skeleton, clad in soft brown robes, is set. Beneath and behind the platform - which can be accessed via a hatch in the side of the throne, is concealed the pocket door leading to W6.
E7 - Mess
Two long, heavy wooden tables run north-south, parallel to one another, and the walls to the south-east and south-west have a long concavity forming a shelf. The shelf is barren - but four Draco (B38) have made their home on and about the tables.
E8 - Hint Pyramid
Along the north and south walls are step-style shelves, rising from 1' at the south and east extremes to 4' in the center. Lining these are urns - 13 in total - six to each wall and one in the corner. In the corner urn can be found 200 gold pieces; in each of the twelve others, 100 silver. A square depression facing the cardinal directions - a foot to each side and two inches deep - is in the center of the room.
W - West Wing
W1 - Larder
Some broken crates adorn the floor as six Lizard Men (B38) chew on salted fish. Between them, they have 1,000 gp; and their leader bears a red pendant worth a further 1,000 gp.
W2 - Storm Lord's Foyer
A large statue to the god of storms sits on a rotating base made of a wrought-iron cage. The statue bears the iconography of lighting and will turn to face the character closest to it.

|

|
W3 - Modest Vault
In the center of the room, a locked chest with 500 silver pieces sits. Above the chest - a loose stone in the ceiling can be pushed aside to reveal a sack with a further 100 gold pieces and a lodestone worth 500.
W4 - Twilight Room
The floor is tiled with jade - an ovaloid pattern adorns the floor, its coloration lightening as it goes from a darker west to a brighter east. Statues to the gods of dawn and dusk stand on the east and west sides of the room, respectively: the mouth of the dusk statue, to the west, is closed; but the mouth of the dawn statue, to the east, is slightly open. If a coin or like object is slipped into the mouth, it will jingle down to the belly and unlock the secret door to W5.
W5 - Hidden Vault
A large work desk is positioned against the east wall. Beside it, a basket filled with scrolls. Among them are the following spells:
-
Infravision
-
Magic Missile
-
Levitate
-
Detect Invisible
- Hold Portal
In addition, on the north side of the room, a pedestal with living green ferns about the base houses a magical Sword (+1), and to the south, a series of clay pots contain specie - 7,000 silver and 2,000 gold in total.
Of the three treasure items, one - determined randomly - will be encircled by four Spitting Cobra (B42).
W6 - Hidden Corridor
An oversized skull is carved into the north wall of this corridor. It appears to be stylized to be attempting to wink. At the waist level, the room is ringed with skull carvings - normal size and expression.
Secret doors exiting from this space are obvious to the eye and easily opened from this perspective.
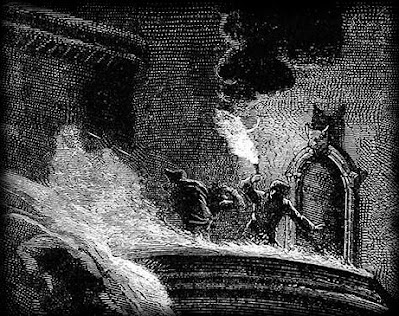
Public domain artwork retrieved from OldBookIllustrations.com and from the National Gallery of Art and adapted for thematic use. Attribution in alt text.


No comments:
Post a Comment